Apr 3, 2018
Setting up HTTPS Using Cloudflare

A guide on how to set up HTTPS using Cloudflare
In a previous article, I went over what HTTPS is and why it’s important. This article will go over how to add an HTTPS certificate to your website using Cloudflare. I will assume that you have a registered domain name for your website.
What is Cloudflare
Cloudflare is a powerful service that provides CDN, Internet security, and DNS services to websites. It acts as a mediator between the web host and the user/visitor. Cloudflare therefore plays the role of a reverse proxy for websites.
To follow along, you will have to create an account on Cloudflare if you don’t have one.
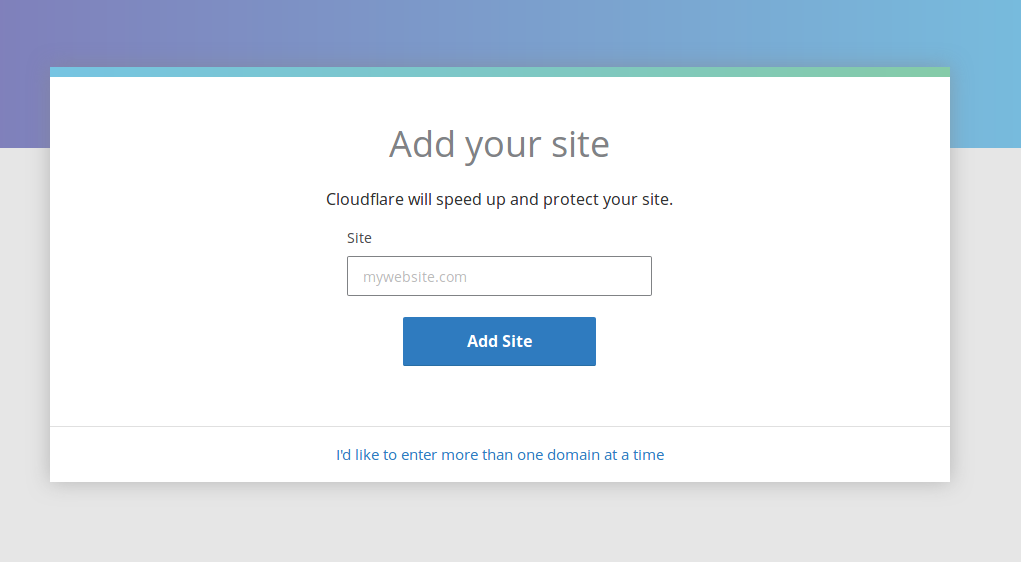
Add your site to Cloudflare
The cloudflare UI provides a simple and user-friendly way to transfer your website’s DNS records. You simply enter you website’s URL and cloudflare will scan the necessary DNS records.
Follow multi-step procedure to choose a payment plan and to add nameserver records to your webhost. For the payment plan, the free plan is more than enough for this tutorial.
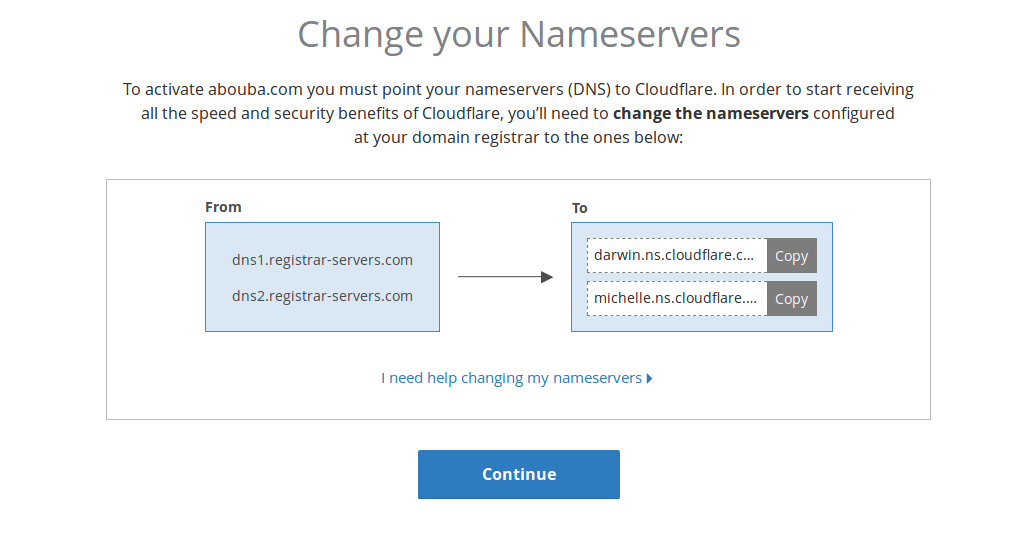
It will take about 24 hours for the nameservers to be verified on the free plan so you’ll have to be a little patient. As soon as the nameservers are verified, you can now add an HTTPS certificate to your website by navigating to the Crypto tab in your cloudflare dashboard.
Configuring HTTPS
Adding HTTPS once you’re on the crypto page is just a button away. Select the Full option as the SSL method of encryption.
To ensure that your website is always visited via HTTPS, toggle ON the Always Use HTTPS option. Also toggle On the Automatic HTTPS Rewrites to ensure that all ‘HTTP’ resources in your web pages are pulled via HTTPS. This helps to avoid mixed content on your website.
Once that’s done, you should be able to access your website via HTTPS.
FIN